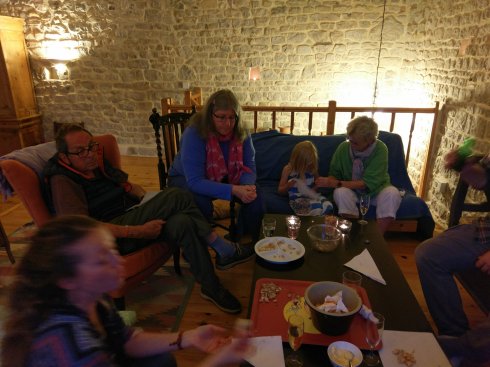
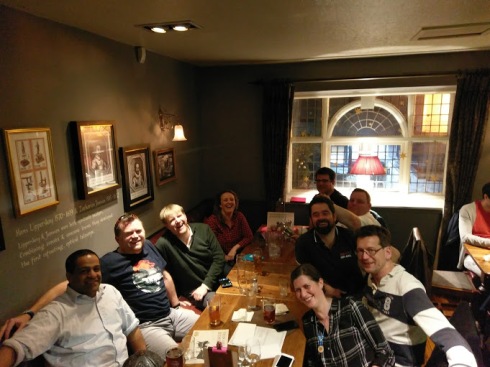
Over the past week, I have run three full-day animation workshops – two in school, under the umbrella of our Summer Camps programme, and one with my sister and her two children. Having learned the essentials of the Zu3D software package a few years ago at CampED, with Martin Bailey (a.k.a. @Animate2Educate), I decided to go with this for my workshops too. (Looking ahead to the forthcoming academic year, I plan to run after-school animation activities, as well, so it was a useful reminder of how it all works!)
In this blog post I intend to record a few of the things we learned over the past week, partly to help me in future, but also in case it proves useful to anyone else making their first steps in animation.
Storyboarding

On the two out of three days where I stipulated that storyboards were created before any thing else happened, the eventual outcomes were so much better. I created storyboard proforma (see above), based on an idea I found online, and encouraged the children to plot their way through their possible scenarios carefully, focusing on the following aspects in each scene:
- characters
- scenery
- action
- dialogue
- sound effects
- music
Characters & Scenery
I provided a selection of Lego-style characters for my school groups – although they turned out to be all male, when Amazon delivered, and this didn’t go down well, understandably! A bit of plasticine customisation and all was well… Lego mini-figures are ideal for stop-motion animation, with their stable bases and posable limbs. On the downside, their facial expressions are fixed. It would be possible to switch heads over to show changed emotions, but this would be tricky to achieve without moving the whole character, with all that entails in terms of achieving smooth movements…
The children also enjoyed creating bespoke plasticine characters and creatures, which is easy enough to do, and allows for imaginations to run truly wild! You do of course sacrifice a little solidity, but are able to play around with the more flexible physics inherent in this medium.
The simplest way to “do” scenery is to draw, paint or print off a backdrop. We found that this worked well, this week – although it is important to fix it securely to a solid, flat vertical surface so that you don’t jog it by mistake! In school, boxes of A4 paper were ideal: nice and heavy, with flat sides. Flat backgrounds are of course less sophisticated than moving ones, but also less distracting from foreground action.
One thing we didn’t explore this week, but which we hopefully will in future, is the ability to shoot or import live action video, and then add in overlays of graphics, GIFs and other visuals. This will also require us to try out the feature which allows you to “erase” part(s) of an overlaid character, thereby making it look like it’s behind things in the foreground… very clever stuff. This same technique would allow you to remove strings, wires or even hands, bringing characters or objects into view “in mid-air”, which is obviously impossible otherwise, in stop-motion.
Within Zu3D and other similar packages, there is a built-in chroma-key feature, more commonly known as “green-screening”. We gave this a try at one of the workshops. A few points to bear in mind: first of all, if you are using a green screen, make sure it is really flat before you start filming, as every little wrinkle will need “ironing out” in post-production, which is time-consuming and fiddly. Secondly, make sure none of your characters or props have green clothes or other elements, as it is a bit of a pain to deal with this in the post-production process! Finally, it is possible to dial the sensitivity of the chroma-key setting up and down within the software.
Incidentally, for my school animation club I am planning on making purpose-built stages, partly to ensure that the cameras can’t move by mistake, but also so that a totally flat green-screen can be incorporated from the start, like this:

Action & Dialogue
We found that it made sense to shoot all the visuals first, and then add all the audio and other effects afterwards. If you do this, though, bear in mind that you need to plan how long the action needs to last in order for the dialogue to fit. (So this is one time when a carefully-planned storyboard really helps!) It is possible to extend scenes in post-production but that is a bit fiddly. One feature of Zu3D which is really useful here is the ability to record audio, such as dialogue, straight into the film, watching the video so you can match the words to the pictures – and then drag it straight into the timeline, adjusting it as required. You can even add multiple layers of audio, making the scene more and more complex.
When shooting action sequences, it is important to keep in mind that all the characters are “on stage”, and so they need to be treated as actors: characters must react to events, to dialogue and to their own words – moving their heads and arms, for example. If a character simply stands still for too long, it looks odd…

We tended to film with the software set to its default, 12 frames per second, but it is possible to dial this up to 24 if smoother, faster action is required. Depending on what is actually going on on set, you can shoot one frame of action, then move the onstage characters / props etc., then shoot another frame, and so on – or if the action is slightly slower, you can take 2, 3 or more frames at once. If required, chunks of action can be copied and pasted, although this can look repetitive or jerky if not done carefully. We usually had one pupil running the laptop and one or more dealing with the stage, moving the characters and other elements. Decide on a signal in advance, so that they all know when a shot is about to be taken, to avoid too many unwanted hands in the frame! Wherever possible, don’t move the camera: we sellotaped ours to the table! If you do not it by mistake, the “onion skin” feature allows you to reposition it as close as possible to the previous setting…

Watch out for shadows: depending on your light source, if the animators move around the stage a lot in between frames, the amount and position of shadows cast into the set can vary, with resultant effect on the final film. There is built-in lighting around the lens on the Zu3D camera, allowing for steady lighting from the front of the set.

Sound Effects & Music
The Zu3D package, and others like it, comes complete with a (fairly limited) range of effects and music – some more useful than others, it is fair to say! It is possible to find royalty-free sound effects and music online, of course, to give an animation a really professional touch. And it’s also great fun to make your own sound effects. Having spoken to the Head of Music at school, I know she is really keen to exploit Animation as an additional facet of Ballard’s already burgeoning Performing Arts scene, and so I expect pupils to start composing original soundtrack material in the near future… Watch (or should that be “Listen to”) this space!
Well, that’s about it for now, although I hope to add more posts once term restarts, and my Animation Club gets going… Here are the three films made this week, for your enjoyment (fingers crossed!)
Firstly, rockumentary-come-scifi epic “Magical Moonrock”
Then monster-movie-with-a-happy-ending “The Snake Attack”
And last but not least, a heart-warming birthday party-with-a-difference: “Party Time”
Hollywood, here we come!
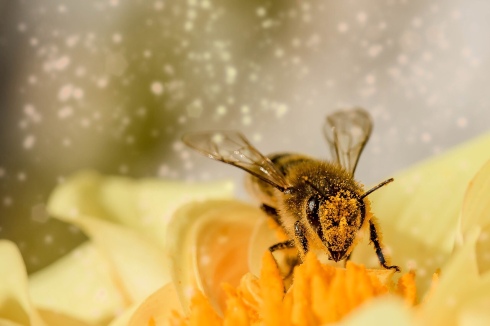 Very exciting news in school today… after consultation with the Leadership Team and having sought the support of the parent body, the Ballard Eco Ambassadors have been given permission to begin our Beekeeping Project! Really fantastic, and definitely something to add to our bid for Green Flag status over the next few months.